

amaryllis & paperwhite
care instructions
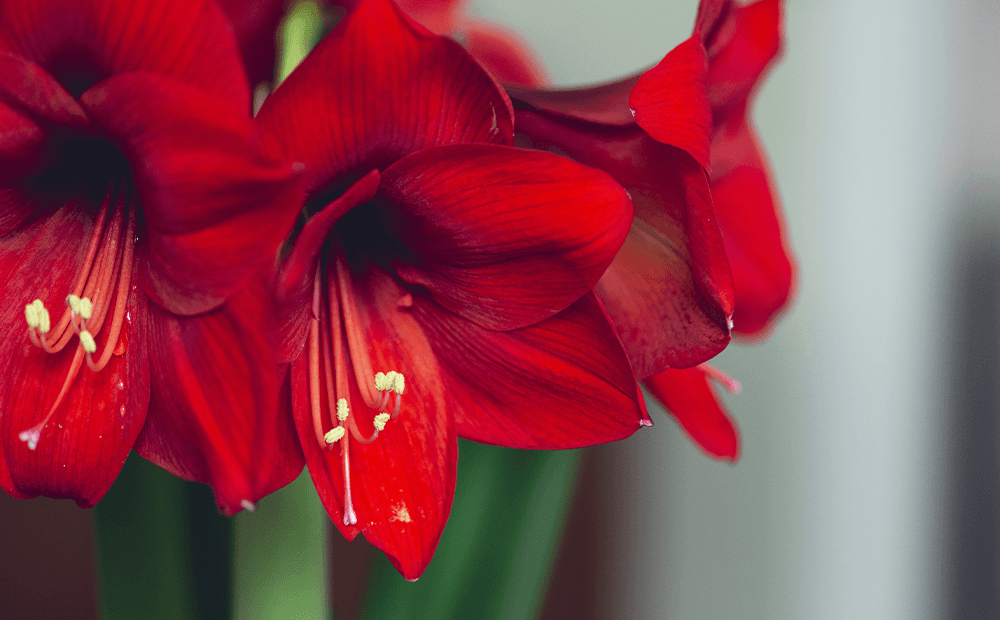
Potted Amaryllis Bulb Gift Kit
-
Place the pot in a warm location. Water soil thoroughly and take care not to water into the top of the bulb. The soil should be kept slightly moist to the touch, and should never be soggy.
When flowering begins, move into a cooler spot with indirect light, to prolong blooms.
-
After your amaryllis has finished blooming, cut the flower stalk(s) back to the base. Take care to keep the leaves intact. The leaves will continue to nourish the bulb through the upcoming months, encouraging it to bloom again.
Return the plant to bright light and water regularly. Fertilize once or twice a month with an all purpose fertilizer.
-
In the fall, place your plant in a cool spot (around 50 degrees) for about 6 weeks. Water sparingly, but do not allow to dry out completely. After the cooling period, move your amaryllis to a warm, sunny location. Keep the soil moist but not soggy. Once the bulb begins to grow, it will take 6-8 weeks to flower.

Your new Amaryllis Kit includes everything needed to enjoy vibrant, showy blooms this winter!
Simply place in a bright, warm area and add water. For more detailed instructions check out our care guide below.


Potted Paperwhite Bulb Gift Kit
-
Shoots can start growing in a few days. Keep your paperwhites in as much bright, direct sun as possible to help ensure the foliage stays stocky and strong.
When blooming starts, move to a cooler spot with indirect light, to help prolong the blooms.
-
Keep the soil somewhat moist but never soggy. Allow the surface of the soil to become a bit dry before watering again.
Paperwhite bulbs are difficult to rebloom. They should be enjoyed for the blooming season, and then discarded afterwards.

Your new Paperwhite Kit includes everything needed to enjoy snowy white clusters of delicately scented blooms this winter!
Simply place in a bright, warm area and add water. For more detailed instructions check out our care guide below.


Potting Loose Bulbs


-
When planting paperwhite bulbs you may use a container with or without a drainage hole.
Fill with potting soil and plant the bulbs (pointed end up, root end down,) leaving the top 1/2 inch of the bulb showing above the soil.
Gently press soil to secure the bulbs.
Bulbs may be spaced as close as 1/2” apart. For a traditional look, cover the surface with gravel or moss.
-
Choose a pot with a drainage hole, and at least 2 inches wider than the bulb.
Plant the bulb so that the top 1/3 of the bulb is showing above the surface of the soil. Gently press the soil around the bulb to secure it.
The soil surface should end up about 2 inches below the rim of the pot.
No need to be intimidated by bulbs. Indoor winter blooms are an easy and stunning way to bring life into the winter months. Follow our simple planting instructions for best results.
2024 Amaryllis Varieties

Barbados

Magic Green

Mount Blanc

Naranja

Luna
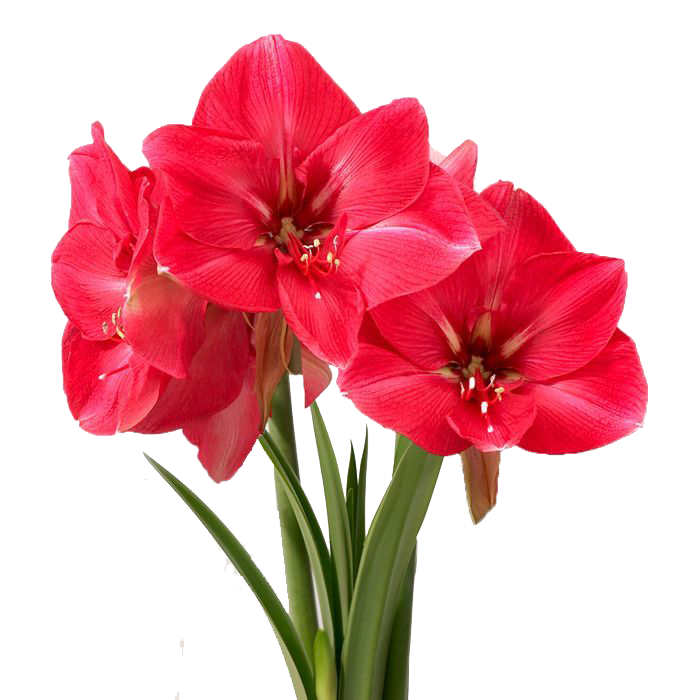
Pink Rival
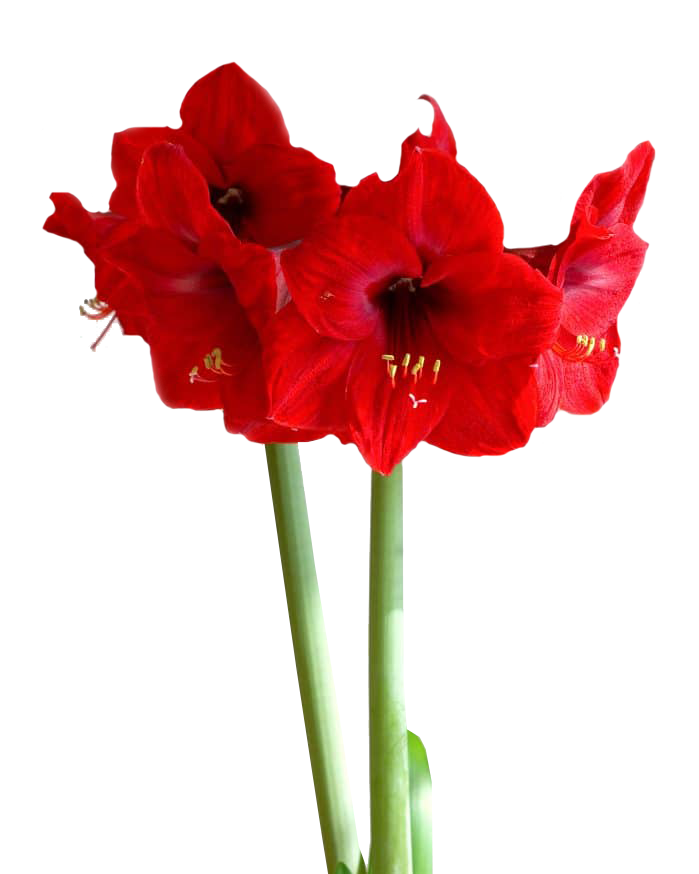
Red Lion

Stardust

Carmen